Ready to shop safely online with the new MySudo virtual cards? Here we walk you through the five simple steps for setting up a card and getting started.
Before we begin, are you on a MySudo paid plan? Only users on a paid plan can use MySudo virtual cards. If you are on SudoFree plan or a Free trial, you’ll need to upgrade to a paid plan. If you’re totally new to MySudo, head here first to download the app.
You can create a virtual card for each Sudo allowed under your subscription plan:
- SudoGo = 3 active virtual cards at a time
- SudoPro = 3 active virtual cards at a time
- SudoMax = 9 active virtual cards at a time.
Let’s go.
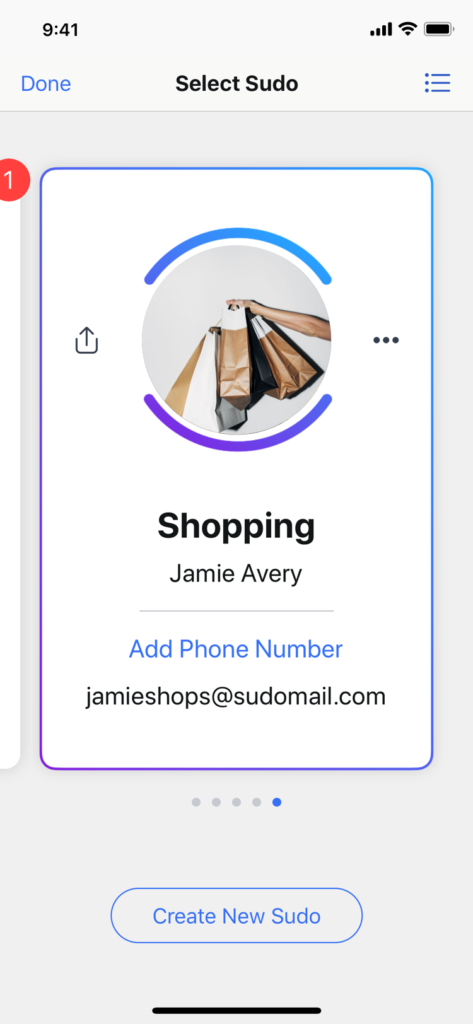
Step 1: Select the Sudo you’ll use with this card.
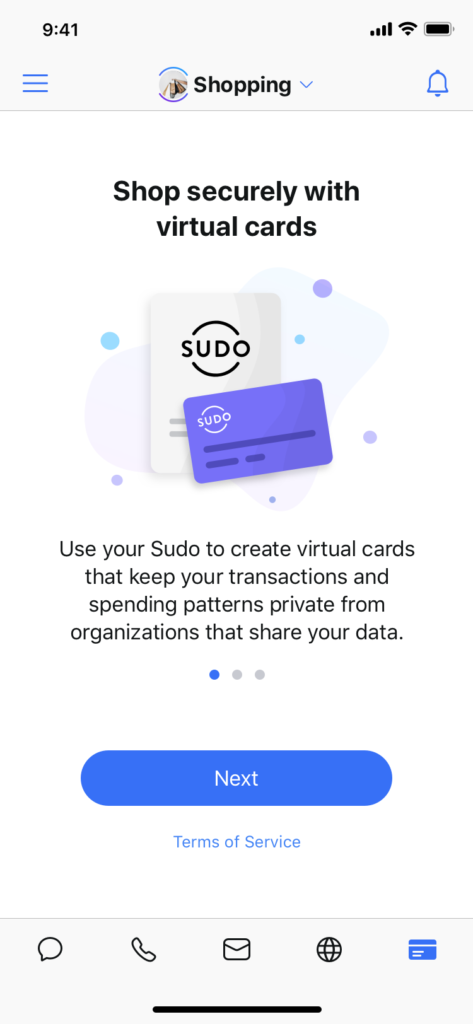
Step 2: Tap on the virtual cards icon in the app to start the set-up process.
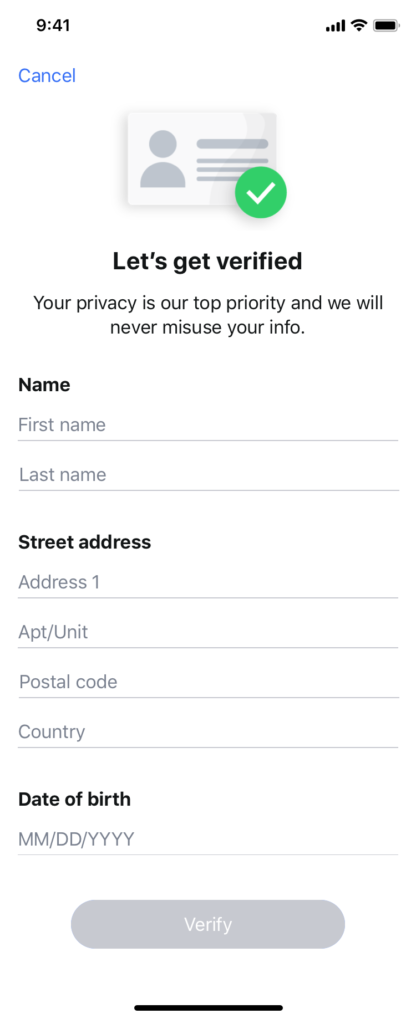
Step 3: Enter your legal identity information in the required fields. You’ll only do this once. Have concerns about your privacy at this point? We understand. Head here for more on our secure identity verification process to meet regulatory requirements.
If your identity information can’t be verified, you’ll see an error screen asking you to try again:
- Is your information free of spelling errors?
- Is your network connection stable?
- Have you used the same information as appears on your government issued IDs?
If verification still doesn’t work, tap on ‘Contact support’ and our support team will help you.
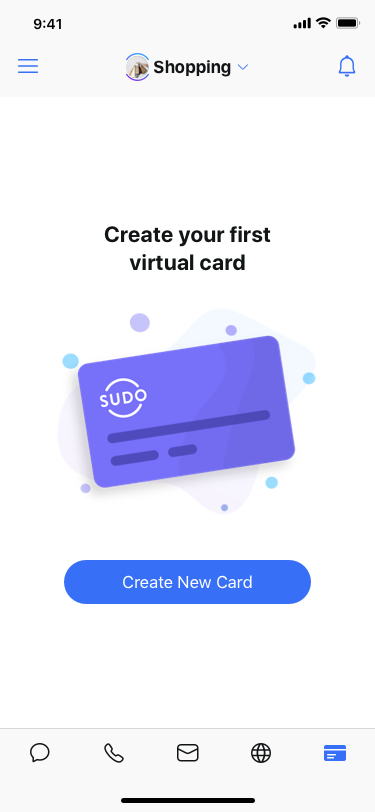
Step 4: Once your information is verified, tap ‘Create new card’. We’ll ask you to enter a funding source (credit or debit card) for your virtual card. We need a funding source because when you use your MySudo virtual card to make a purchase, the online merchant charges us and we charge you. We only ask for these details once. Got concerns about us asking for your credit card or debit details? We get it.

Step 5: Once your funding source is verified, tap ‘Create new card’ again to see your new MySudo virtual card. Label it as something you’ll remember—like Online Purchase, Subscriptions or Bills.
Now, add a cardholder name—use your Sudo name or anything else you’d like. You will use this cardholder name when checking out on a merchant’s site.
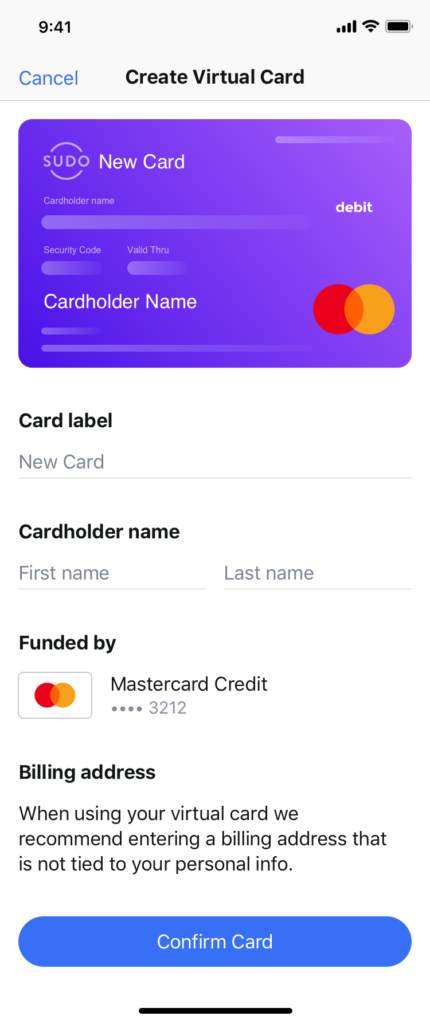
Finally, add your billing address. You will need to use this same address in the billing address field on a merchant’s site when making a purchase. You can use any US address, but make sure it has a valid country and zip code. If you’re buying physical goods, you will need to add a shipping address so the goods can be delivered. In this case, it’s important to ensure your shipping address matches the address where the item must be delivered!
And that’s it: you’re all done!
On your MySudo virtual card, you’ll see the card number, expiration date and security code, which you’ll need to use when checking out.
Transactions performed and declined will appear under the ‘Transactions’ tab, and you’ll find your card details under ‘Details’. It’s that simple.
Now, hit the shops or set up another MySudo virtual card.
Before you go: It’s important to create a backup. If you’re a regular MySudo user, you will need to update your backup the first time you start using virtual cards.